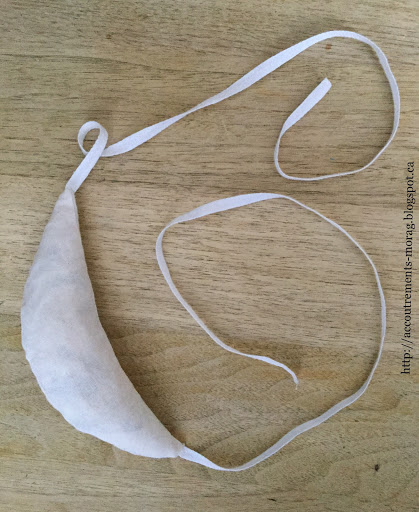
First thing on a list of things to make in a Regency outfit- stays. I was actually terrified by the thought of making these up, because, coming from 18th century costuming, I was convinced that gussets must be evil and
extremely difficult to sew. I maintain this view to some extent, but understand now that they are completely feasible, and
not a corsetry nightmare.
 |
| Image source: Goodreads.com |
After looking through several sites devoted to fitting and making up Regency stays*, or documenting other costumers' attempts at stays, I decided to go with long stays. I mean, I actually do want to be able to
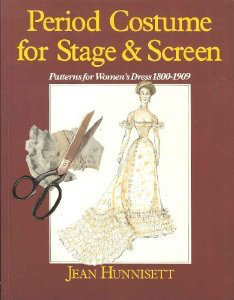
dance in these things, so yes thanks, I'll take all the support I can get. I decided to use the pattern in Hunnisett’s
Period Costume for Stage and Screen vol. 3, because it was easily accessible to me, and has a great variety of pattern diagrams. I scanned the diagram for the stays, sized it up to scale in MS office and printed it off.
I made the mockup and was upset to find that the bust gussets simply did not fit. The gusset length was
way too short. Now everybody says, "yeah, the gussets are supposed to be short- just widen them by a bunch and it'll all work out" Yeah, but this only works out if the gusset
already fits in length. I mean, this thing basically fit me like a friggin underbust corset with some tiny floppy fabric things at the top, that's how short they were. Ludicrous! I got ridiculously frustrated and started taking it personally,** and threw both the mockup and the pattern together into a forlorn corner of the sewing table... and then decided to pretend that they didn't exist for a while.
Coming back- cautiously- to the stays a couple of weeks later, something occurred to me: while it is counterproductive to lengthen the gussets by cutting longer slits into the body of the stays (you lower the bustline=bad), it
is possible to add to the top of the gussetted area to make it longer- preserving the height of the bustline, and achieving the needed length to actually do its work. I drafted up a design for the front panel.
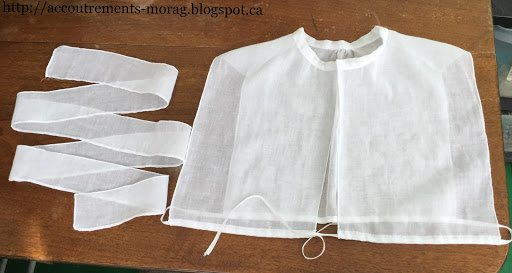
Later, I put forward my design to the Regency sewing group on facebook to see if anyone else had any similar ideas. Someone referred me to the stays pattern in Percoco's Regency Women's Dress. The original gusseted stays pattern featured in this book, dated to 1810-1815, actually feature a similar level-change in the top of the stays (although in a different place from mine).***So I can tentatively say that this is an attested early 19th century fitting technique. And, even better, now I have a pair of stays that fit! Here they are:
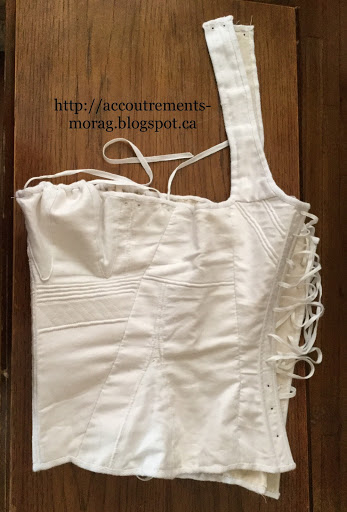 |
| Yes, this is the same image as in the last post. I just feel like it shows the entire cording layout fairly well. |
Finally the place with all the asterisks at the bottom
* Probably the most ubiquitously recommended, the Oregon Regency Society has a particularly good breakdown of styles of corsetry from this era, and fitting.
**Never a good idea. Mock-up's don't judge personally; they simply indicate what will work or not!
***The book refers to this fitting technique as "stepping"- so something for me to look into further!